Installing connectors
Connectors are installed integrations that expose tools to skills. This page walks the admin flow end to end: install from the catalog or create a custom MCP server, configure it, clear review, and attach its tools to skills.
Two ways in
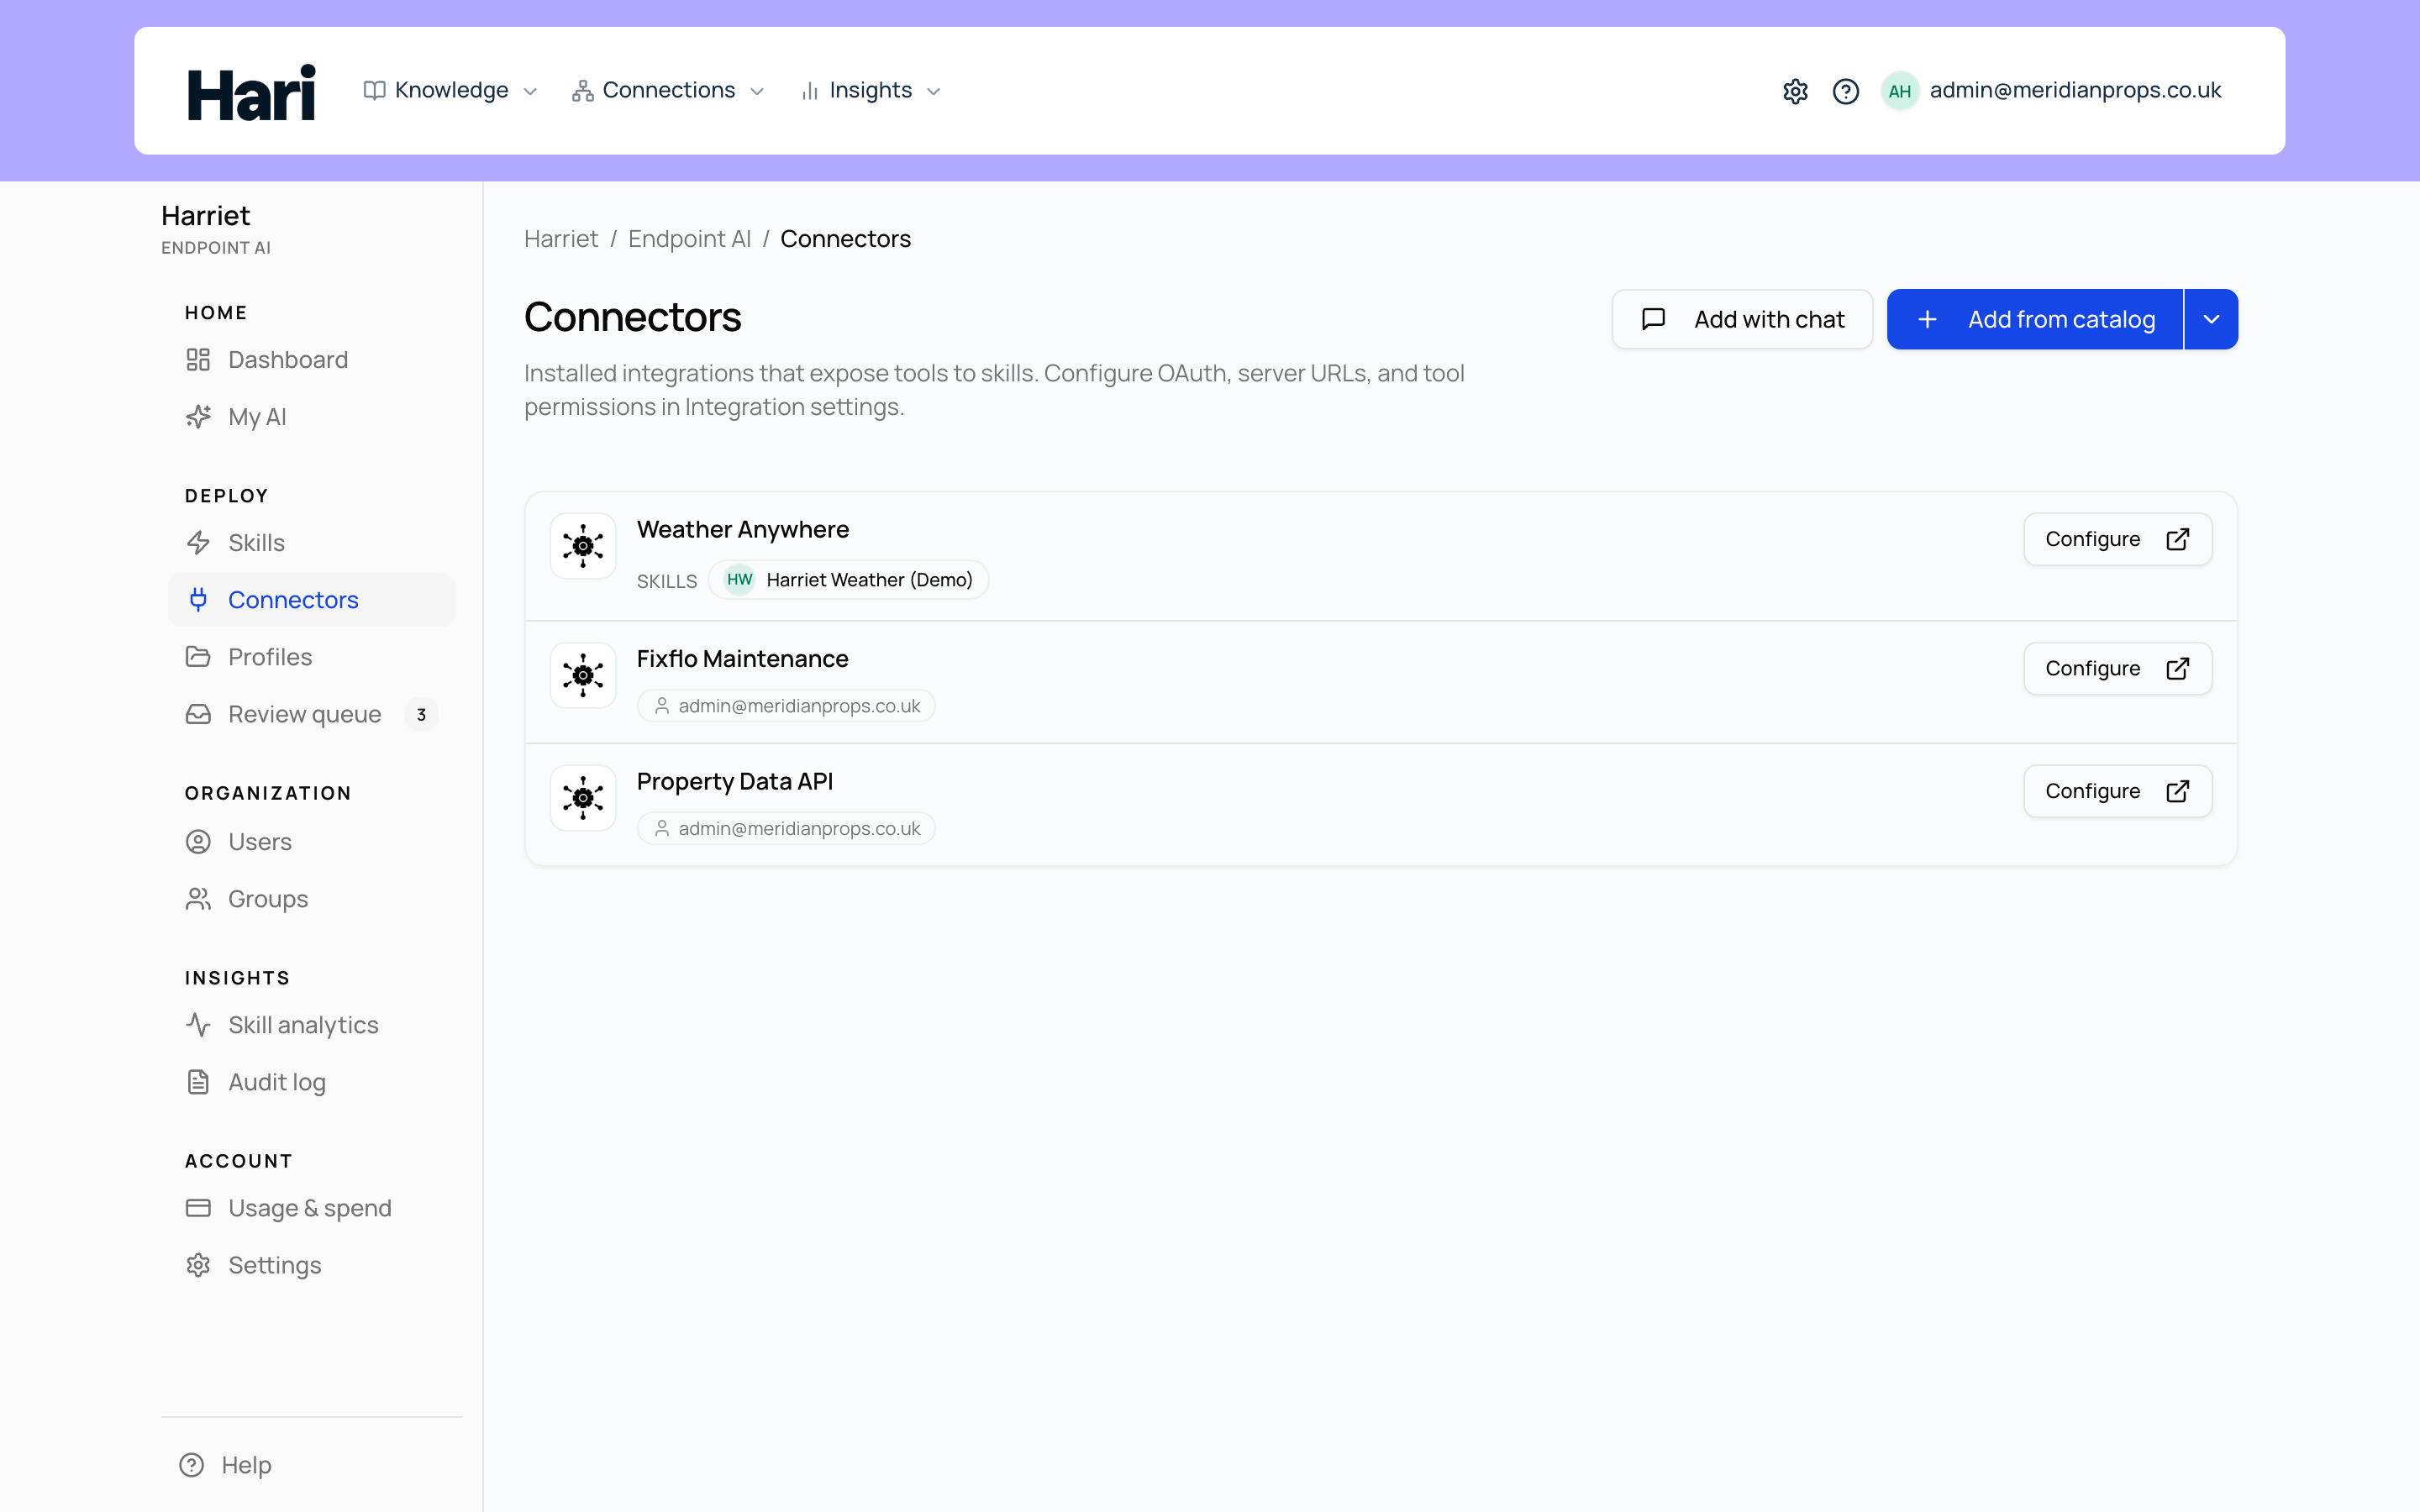
Open Connectors in the admin console. The header offers both routes:
- Add connector opens the catalog of published templates — the fast path for known integrations.
- Add MCP in Integrations opens the full MCP wizard in Company settings — the path for custom servers.
Install from the catalog
Each template card carries an install-mode chip: Hosted (a remote MCP server), Sandboxed (Harriet runs the server in an isolated sandbox), or Guided (setup steps in the external system). See Hosted and sandboxed connectors for the differences.
- Pick a template. The detail step shows the description plus Vendor docs and Help links. Templates that need per-user OAuth say so here: users connect their accounts under Profile → Integrations after the skill is assigned.
- Fill in the fields. Some templates need no extra input; others ask for values such as API keys (entered as masked secrets) or a credentials file. Leave Add new skill to default profile (after you pick a use case) checked to roll the resulting skill out with your default profile.
- Review and select Install. The confirmation step states which connector you are installing for the account; on success the dialog reports Connector installed.
- Create a skill, or skip. Templates with prepared use cases continue to a Create a skill step. Pick a starting point and edit it in the skill editor, or choose Skip — connector only and attach the connector to skills later.
Create a custom MCP server
For servers not in the catalog, the catalog dialog links to Create custom MCP (npx / uvx), and Add MCP in Integrations opens the same wizard in Company settings. It steps through the basics (display name), the connection type — an OpenAPI spec, a native MCP server URL, or a sandboxed command run with npx or uvx — the authentication model, and which groups may use the connector. See Custom MCP servers for the full walkthrough.
After saving, run Sync tools so Harriet discovers what the server exposes, then set per-tool permissions.
Configure and clear review
Each installed connector row has a Configure button that opens its Integration settings, where OAuth credentials, server URLs, and tool permissions live. Connectors that are not yet approved show a Review chip with their current status and appear in the review queue; a reviewer must approve the connector before it is deployable.
Attach tools to skills
A connector does nothing on its own — skills carry its tools to people. The catalog's use-case step creates a ready-made skill; otherwise attach the connector to a skill in the skill editor, then assign that skill through profiles or direct assignments. For connectors that use per-user OAuth, each person connects their own account before the tools work; see OAuth connections.
Step-by-step guides for common systems: Slack, Atlassian, Asana, Microsoft 365, Google Drive, and Google Docs.